Training is the reliable place to practice the actions that decide Be a Soccer Legend matches while building the Training OVR shown on the menu. Start from the main career hub, open Training, and choose Finishing, Passing, or Set Pieces. Each category displays four visible +1 progress spaces, so the panel currently shows up to 12 Training OVR points across the three activities. The score you earn inside a drill is not itself presented as a confirmed one-to-one OVR conversion; use the progress shown by the current in-game panel as the authority.
Set a useful training target
Your first target is not simply to enter every drill. It is to practice the action you expect to use in your next match and then aim for the highest-value result that the activity presents. Finishing and Set Pieces use the same visible scoring ladder: an ordinary goal is worth 100 points, a Target hit is worth 250, and a Bullseye hit is worth 350. That makes placement more valuable than rushing a shot toward the goal.
Passing has a different priority. A Hard pass can award up to 150 points, while completing an Assist adds 100 points. The menu advice favors difficult, useful passes rather than always selecting the nearest teammate. In practice, training is a preparation step: sharpen the action, check the resulting progress, and carry the decision-making into Matches.
The visible Training OVR panel is the useful completion check. It shows the current total in a form such as Training OVR +0/12, while the three categories each expose four +1 spaces. The current game information does not establish a cooldown, a season limit, a currency cost, or complete unlock requirements. Do not plan around any of those systems unless the current game screen shows them.
How the three drills move the play
Training is a menu-led, session-based flow rather than a single linear lesson. You begin at the career center, choose one of three activities, perform the matching action, receive a drill result, and decide whether to train another category or return to Matches. The activities share the same purpose—raising OVR and improving match readiness—but they branch into different actions and feedback.
Open Training and choose a practice activity
This moment supports the Training flow by showing the area and the choice of a training activity before practice.
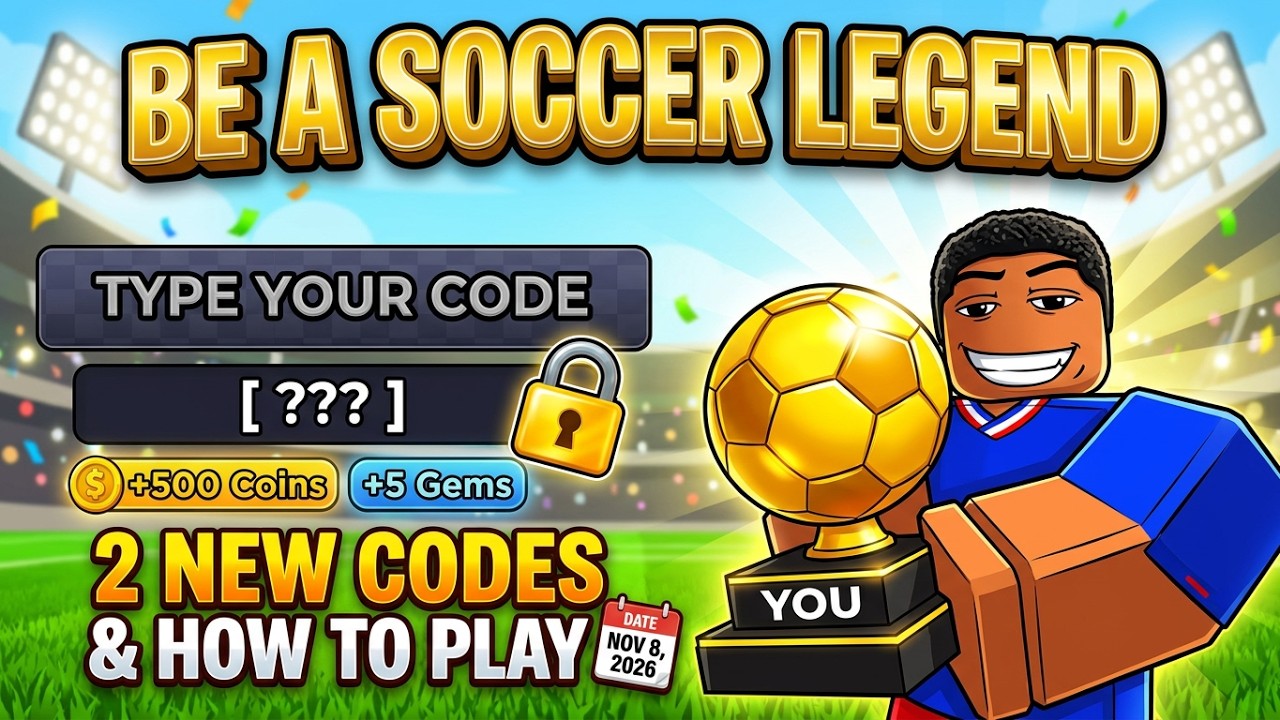
Finishing and Set Pieces are placement drills. You draw a line from the ball toward the goal or a marked area, and the end of the line determines where the ball goes. A regular goal, Target, or Bullseye result gives different point values. Set Pieces uses the same placement logic in a corner-kick or free-kick scenario, so the starting situation changes even though the scoring ladder matches Finishing.
Passing is a decision drill. You need a teammate available to receive the ball, then choose a pass that may be long, difficult, or able to break the defensive line. An Assist is a separate valuable outcome. The result is therefore shaped by both the destination of the drawn line and the opportunity on the field, not just by moving the ball to the closest player.
Practice passing after a match
This moment supports the Passing drill by showing the player select passing training, pass to a teammate, and take a shot afterward.
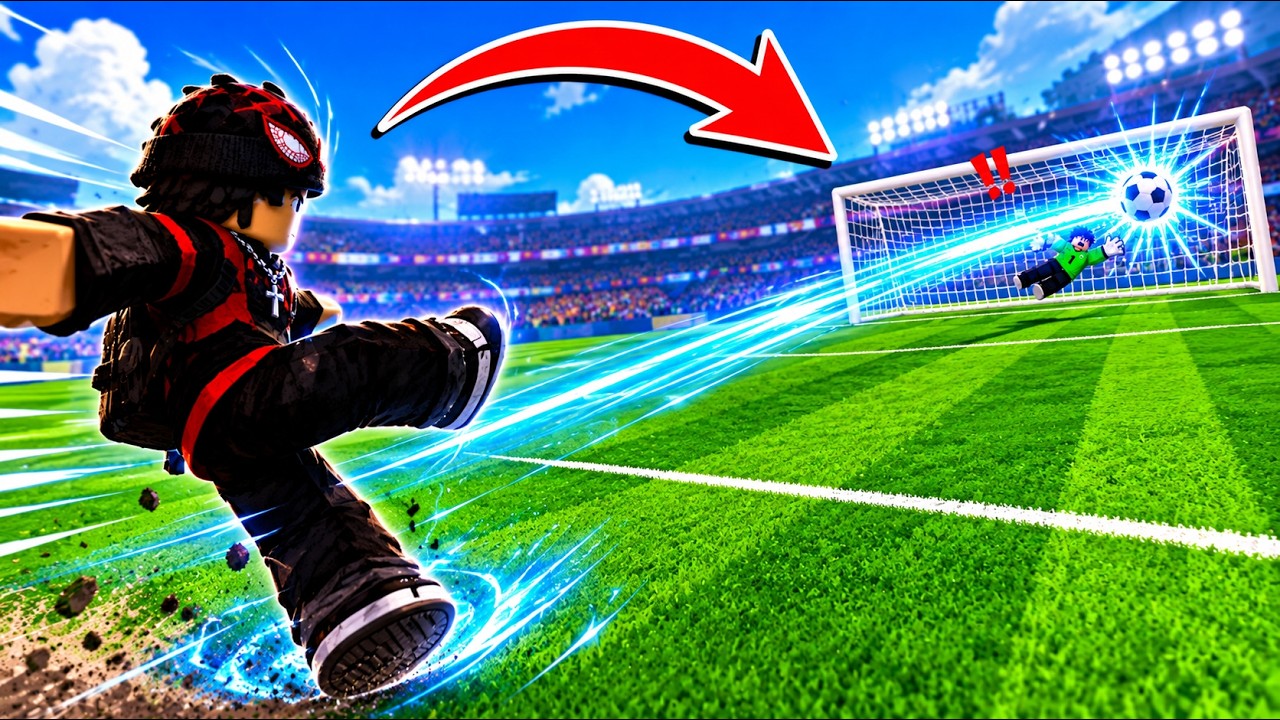
After a result, inspect the Training OVR display and the category’s visible +1 spaces. The current evidence does not publish a full conversion formula from drill points to OVR, so the panel—not an assumed score threshold—is the checkpoint that tells you what changed.
The actions and feedback that matter
Training OVR
Training OVR is the progress display for the training area. It currently presents a total out of 12 visible points, with four spaces under each category. Check it after a drill to verify whether the session advanced your displayed progress.
Finishing
Finishing is the direct shooting activity. Use it when you want to practice drawing a shot toward a goal target. A normal goal is worth 100 points, a Target is worth 250, and a Bullseye is worth 350. The beginner rule is to spend an extra moment lining up the end of the stroke instead of treating any goal as equally valuable.
Passing
Passing trains distribution to a teammate. It requires a player available to receive the ball and rewards more ambitious choices: a Hard pass can reach 150 points, and an Assist adds 100. Look for a useful lane, not merely the nearest safe outlet, then check whether the result produced the intended pass or assist.
Set Pieces
Set Pieces covers corner-kick and free-kick situations. It uses the same 100-point goal, 250-point Target, and 350-point Bullseye ladder as Finishing. Treat the marked area as the key decision: the best result depends on where the line ends, not on selecting the activity and immediately drawing a random stroke.
Drawn line
The drawn line is the main control for shots and passes. The ball travels toward where the line ends, so the destination should match the action: the goal or target for a shot, a teammate or open space for a pass. This is also why a poor line can turn an otherwise sensible drill choice into a low-value result.
Target and Bullseye
Target and Bullseye are higher-value placement outcomes in Finishing and Set Pieces. Bullseye is the top listed result at 350 points, while Target is worth 250. Aim for the center when the position is realistic; do not assume that the displayed drill score alone guarantees a particular OVR increase.
Hard pass and Assist
Hard pass and Assist are the notable Passing outcomes. Hard pass rewards a demanding delivery up to 150 points, while Assist provides an additional 100 points. They matter when you are deciding between a simple nearby pass and a pass that creates a useful attacking outcome.
Complete your first training session
- Return to the career center. Start from the main career area and open the
Trainingmenu. You should see Finishing, Passing, and Set Pieces, along with the current Training OVR display. If the menu is not visible, remain in the career center rather than trying to begin from a match result. - Choose the action you need first. Select Finishing if your immediate goal is shooting placement, Passing if you need distribution practice, or Set Pieces if you want a corner or free-kick scenario. The selected activity should load its matching field situation or prompt.
- Read the available target or teammate. For Finishing and Set Pieces, identify the goal, Target, or Bullseye before drawing. For Passing, check that a teammate is available and notice the open lane or difficult delivery opportunity. This checkpoint prevents a line aimed at the wrong object.
- Draw the line to the intended destination. End a shot line in the goal area or on the highest realistic target. End a pass toward the teammate or open space that supports a Hard pass, through-ball style delivery, or Assist. The ball follows the line’s endpoint, so the endpoint is the important control.
- Read the drill result. Finishing and Set Pieces can report a 100-point goal, 250-point Target, or 350-point Bullseye. Passing can report a Hard pass up to 150 points or an Assist worth an extra 100. Use the result to decide whether your placement or choice matched the target.
- Check Training OVR and the category spaces. Return your attention to the progress display and look for a changed
+1space. The current evidence does not establish a guaranteed score-to-OVR formula, so this visible update is the correct verification checkpoint. - Choose the next branch. Repeat with another category if you need a different skill, or leave Training and enter Matches to apply the practiced action. After a Passing session, for example, look for opportunities to create an Assist rather than reverting to only short safe passes.
- Review longer-term progression. Compare the training display with Player Rating and Progression after you have played. The game describes training as a way to raise OVR, but the current game information does not confirm every unlock condition or a fixed number of sessions required for a rating change.
Prioritize placement and recover from misses
- Prioritize Bullseye placement. When the center is available, it is worth 350 points versus 100 for an ordinary goal. If the Bullseye is difficult from the current angle, use the Target at 250 rather than forcing a line that misses the goal entirely.
- Use Passing for a purpose. Search for a Hard pass or Assist opportunity instead of selecting the closest teammate by habit. A useful pass also prepares you for match situations where the goal is to move through pressure, not just retain possession.
- Match Set Pieces to the situation. Corner kicks and free kicks are separate from ordinary Finishing even though their score ladder is the same. Focus on the marked destination and treat a clean Target result as a good fallback when a Bullseye is not realistic.
- If a shot misses the target, reset the endpoint. A miss means the drawn line did not send the ball where you intended. On the next attempt, shorten or redirect the line toward the goal or marked area; do not infer a hidden cooldown or penalty that the current panel does not show.
- If a pass reaches the wrong player, reassess the lane. Choose a clearer teammate or open space and draw the line to that destination. Passing requires an available receiver, so if no teammate is positioned for the intended play, switch to a supported option rather than expecting an Assist.
- If the score changes but OVR does not visibly move, use the panel as the authority. The evidence does not publish the conversion rule between drill points and Training OVR. Continue by following the current progress display, and avoid promising yourself that one 350-point result must equal one
+1space. - If a category behaves differently, check the current interface. Training limits, unlocks, cooldowns, and costs are not established here. Read the live activity panel before making a schedule, and use the categories that are currently available rather than relying on an assumed progression rule.
First-time Be a Soccer Legend Training questions
Does every Training activity use the same scoring system?
No. Finishing and Set Pieces list the same 100-point goal, 250-point Target, and 350-point Bullseye values. Passing instead lists up to 150 points for a Hard pass and an additional 100 points for an Assist.
Do I need a teammate to start every Training activity?
No. Passing requires a teammate available to receive the ball. Finishing and Set Pieces are shot-placement activities, so their key requirement is the relevant goal or set-piece situation rather than a passing receiver.
What should I use to confirm that training improved my OVR?
Use the Training OVR display and its visible +1 spaces as the confirmation. The available game information does not define a fixed conversion from drill points to OVR, so do not treat a particular score as a guaranteed rating increase.
Are Training cooldowns or currency costs documented?
They are not established by the available Training information. Check the current in-game activity panel before planning repeated sessions or assuming that a drill is limited by a timer, season count, or currency fee.