Be a Soccer Legend matches are built around choosing the right action for the space in front of you. Use a short pass to keep possession, a Through Ball for a teammate running forward, a Cross from a wide position, and a shot only when the route to goal is usable. Matches are also the main place to turn those decisions into performance feedback such as goals, chances, Coins, Fans, Player Rating, stars, and possible Man of the Match results.
Match actions at a glance
The game uses a draw-to-play system: draw from the ball toward the place you want the ball to go. The end of the line determines the direction and helps select the intended action when a prompt is available. These are the main match actions supported by the game:
| Action | What it does | Best use | Main risk |
|---|---|---|---|
| Short Pass | Moves the ball to a nearby teammate | Keep possession when the middle is crowded | A pass made without checking pressure can be intercepted |
| Through Ball | Sends the ball toward the space ahead of a runner | Release a forward teammate into open space | A late or misdirected line can miss the run |
| Cross | Sends the ball from a wide area toward the box | Find a teammate arriving in front of goal | A cross aimed at a stationary defender is easy to waste |
| Shot | Attempts to turn an attacking chance into a goal | Use when the goal route and angle are clear | The goalkeeper or a narrow angle can stop it |
| Free Kick | Creates a set-piece attempt | Take the opportunity when a free-kick prompt appears | The full free-kick rules are not established |
| Goalkeeper Save | Stops a shot and ends that scoring chance | Read the covered side before committing to a shot | A blocked attempt costs an opportunity |
Treat the table as a decision guide rather than a fixed priority list. A short pass is usually the safer choice when a teammate is close and the central lane is crowded. A Through Ball is more useful when the teammate is already moving into space. A Cross needs both width and a teammate who can arrive in the box. A shot is the finishing action, not the default response to every touch.
How a match develops
A match starts with the same basic question: where is the useful space? Check the ball, nearby teammates, defenders, and the goalkeeper before drawing. If the player with the ball has no clean route to goal, move the ball instead of forcing a shot. A safe pass can preserve the attack long enough for a better angle to appear; use Training afterward to practise the action that broke down.
After a pass, keep moving. Standing in the original position makes it harder to receive the next ball and can leave the attack isolated. When a teammate begins a forward run, draw the Through Ball toward the route the teammate is about to take, not toward the teammate's current position. This gives the runner room to meet the ball.
Wide space changes the choice. When the attack reaches a flank and a teammate is moving into the penalty area, use CROSS to send the ball toward that arriving route. The target should be where the teammate is going, rather than the defender or a fixed point that the teammate has already passed.
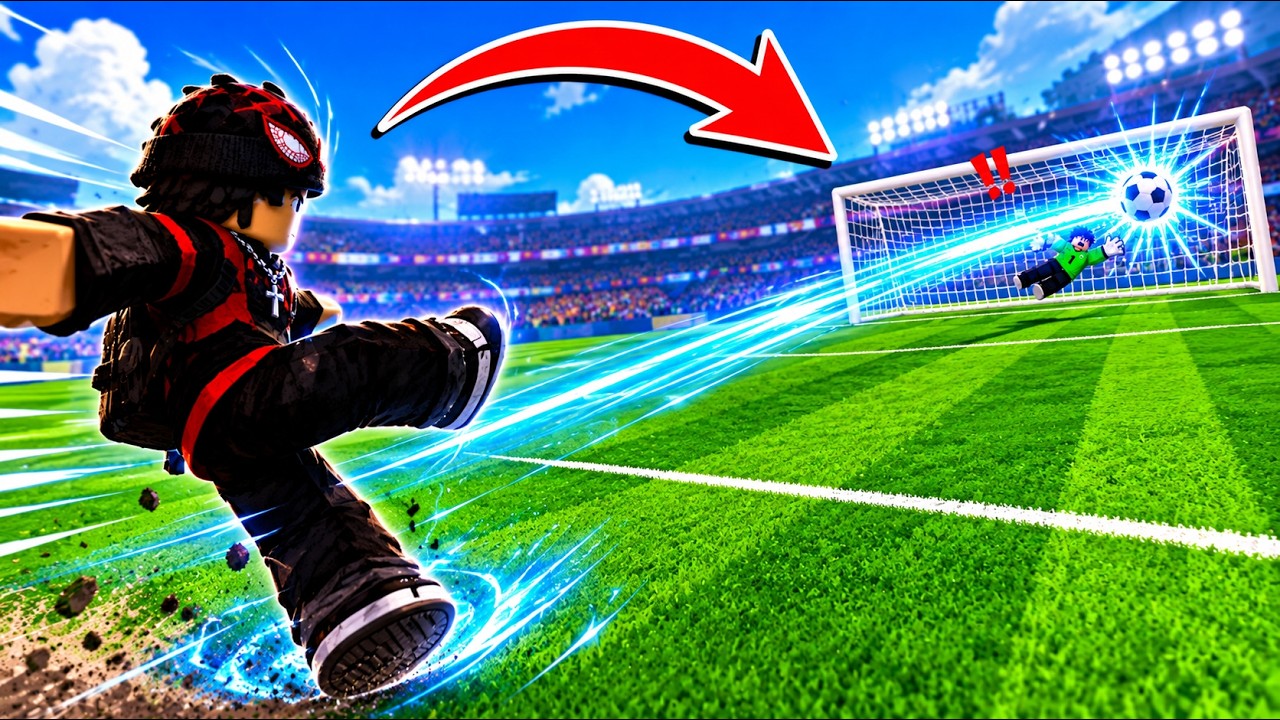
When the ball reaches a shooting position, check the goalkeeper and the angle first. A shot can finish the move, but a rushed attempt into a covered lane is more likely to be saved or fail. If the goalkeeper stops the ball, the attack is not necessarily over; recover your position and wait for the next supported chance.
Choosing the right pass
Use a short pass to stabilize an attack. It is the clearest option when a nearby teammate is available and the opposition is closing the middle. Short passes also give the team time to create a new lane instead of making the player attempt a low-quality shot.
Use a Through Ball for movement, not simply distance. The important signal is a teammate running forward. Draw ahead of that run so the teammate can reach the ball at speed. If the teammate is standing still, a short pass is generally the more appropriate choice supported by the available match guidance.
Use CROSS after reaching a useful wide position. Look for a teammate's arrival path inside the box before drawing. The cross is not just a longer pass: its value comes from changing the angle of the attack and finding a player away from the crowded central lane.
The draw endpoint matters for all three choices. A line that ends too close to a defender can give the opposition an easy interception. A line that ends behind a runner can also waste the forward movement. Make the destination reflect the next action you want the teammate to complete.
Turning chances into goals
Do not turn every possession into a shot. Build the chance first: use a short pass to retain the ball, a Through Ball to exploit a run, or a cross to reach a teammate in the box. Then shoot when the route to goal is open and the goalkeeper does not cover the intended direction.
A match can present a limited number of attacking chances. One recorded match explicitly reports four chances, but that number should not be treated as a universal match rule. Because the total can vary by match or challenge, spend each opportunity on a shot with a reasonable angle rather than forcing an attempt from a blocked position.
A saved or missed shot is feedback about the decision, not a reason to repeat the same line. If the goalkeeper covers the angle, look for a pass or a different attacking route on the next opportunity. If possession is lost, move into a support position and wait for the next phase instead of remaining where the previous attempt ended.
Free-kick situations are also part of the match flow. The supplied material confirms that a player completed a free-kick shot, but it does not establish every free-kick rule or a separate success formula. Treat the on-screen prompt as the authority for the available set-piece action.
Reading the result screen
Finish the match by checking the result information rather than judging the performance only by the final score. The reported result screen can include goals, chances, Coins, Fans, a star rating, and Man of the Match. Player Rating is also identified as a match-related progression result. These values show different parts of the performance, but the game does not publish a complete calculation for any of them.
A reported example shows Man of the Match, a 10-star rating, four chances, three goals, Fans, and Coins after a completed match. Use that as an example of the kinds of feedback the result screen can show, not as a guaranteed reward package or a universal score threshold. Rewards and ratings can be mutable, so rely on the current result panel for the match you just completed.
The result also matters beyond one screen. Repeated matches help connect match performance with longer-term progression, including Coins, Fans, Player Rating, and career objectives. Career play includes club matches, leagues, cups, transfers, and national-team goals. A strong match therefore serves both the immediate attacking objective and the broader career route, even though the exact formulas for advancement are not specified here.
Review match performance and rewards
This moment supports the result-screen example by showing a completed match with a Man of the Match result, rating, chances, goals, Fans, and Coins.
Practice before competitive matches
Training is the safest place to rehearse the actions that decide matches. The available video evidence describes the Training area as a place to practice shooting and passing. Use that space to become comfortable with drawing toward a nearby teammate, drawing ahead of a forward run, sending a cross from the flank, and choosing a shooting angle.
Practice passing and shooting before matches
This moment introduces the Training area and supports the passing and shooting practice described in this section.
A useful practice routine is to separate the decisions. First, repeat short passes until the endpoint feels predictable. Next, practice Through Ball lines while watching the runner's direction. Then work on CROSS from a wide position and aim for where the teammate will arrive. Finish with shots from a position where you can see the goalkeeper's coverage.
This routine does not establish a hidden accuracy formula or guarantee a reward. Its value is that each practice action maps directly to a match situation. When a formal match offers limited chances, the player can focus on reading space and prompts instead of learning the controls during the opportunity.
Limits and match rules not confirmed
The game does not establish a complete match duration, a universal number of chances, a draw or tie result, direct goalkeeper controls, or a full list of match types. It also does not publish formulas for Coins, Fans, stars, Player Rating, or Man of the Match. Do not rely on an assumed timer, reward total, or rating threshold unless the current game interface displays it.
The safest stable rule is to use the live prompt and result panel: follow the action named on screen, draw toward the intended destination, inspect the goalkeeper before shooting, and check the completed-match feedback afterward. This keeps the decision guide useful while avoiding claims about values that can change or remain mode-specific.
First-match decision checklist
- Check the ball, teammate movement, defenders, and goalkeeper before drawing.
- Use a short pass when a nearby teammate is the safest outlet.
- Aim a
Through Ballahead of a forward runner. - Aim a
CROSStoward a teammate's arrival path from a wide area. - Shoot only after creating a usable angle and checking goalkeeper coverage.
- After a save, miss, or lost ball, reposition for the next supported chance.
- Read the result panel for goals, chances, Coins, Fans, stars, and other displayed feedback.
First-time Be a Soccer Legend match questions
How many chances does a match give you?
The available match example shows four chances, but that count is not confirmed as a universal rule for every match or challenge. Check the current match interface for the number shown in your game.
What should you practice before playing a match?
Practice passing and shooting in Training, with extra attention to drawing toward a teammate, ahead of a forward run, and toward a teammate's route from a wide position. These actions correspond directly to the short-pass, Through Ball, CROSS, and shot decisions used in matches.
What should you do after the goalkeeper saves your shot?
Treat the save as the end of that attempt, then reposition for support and wait for the next attacking opportunity. The game does not establish a goalkeeper control system, so focus on recovering your attacking position rather than assuming you can manually direct the save.
SourcesReviewed November 8, 2026
https://www.be-a-soccerlegend.wiki/guide/Be-a-Soccer-Legend-how-to-play